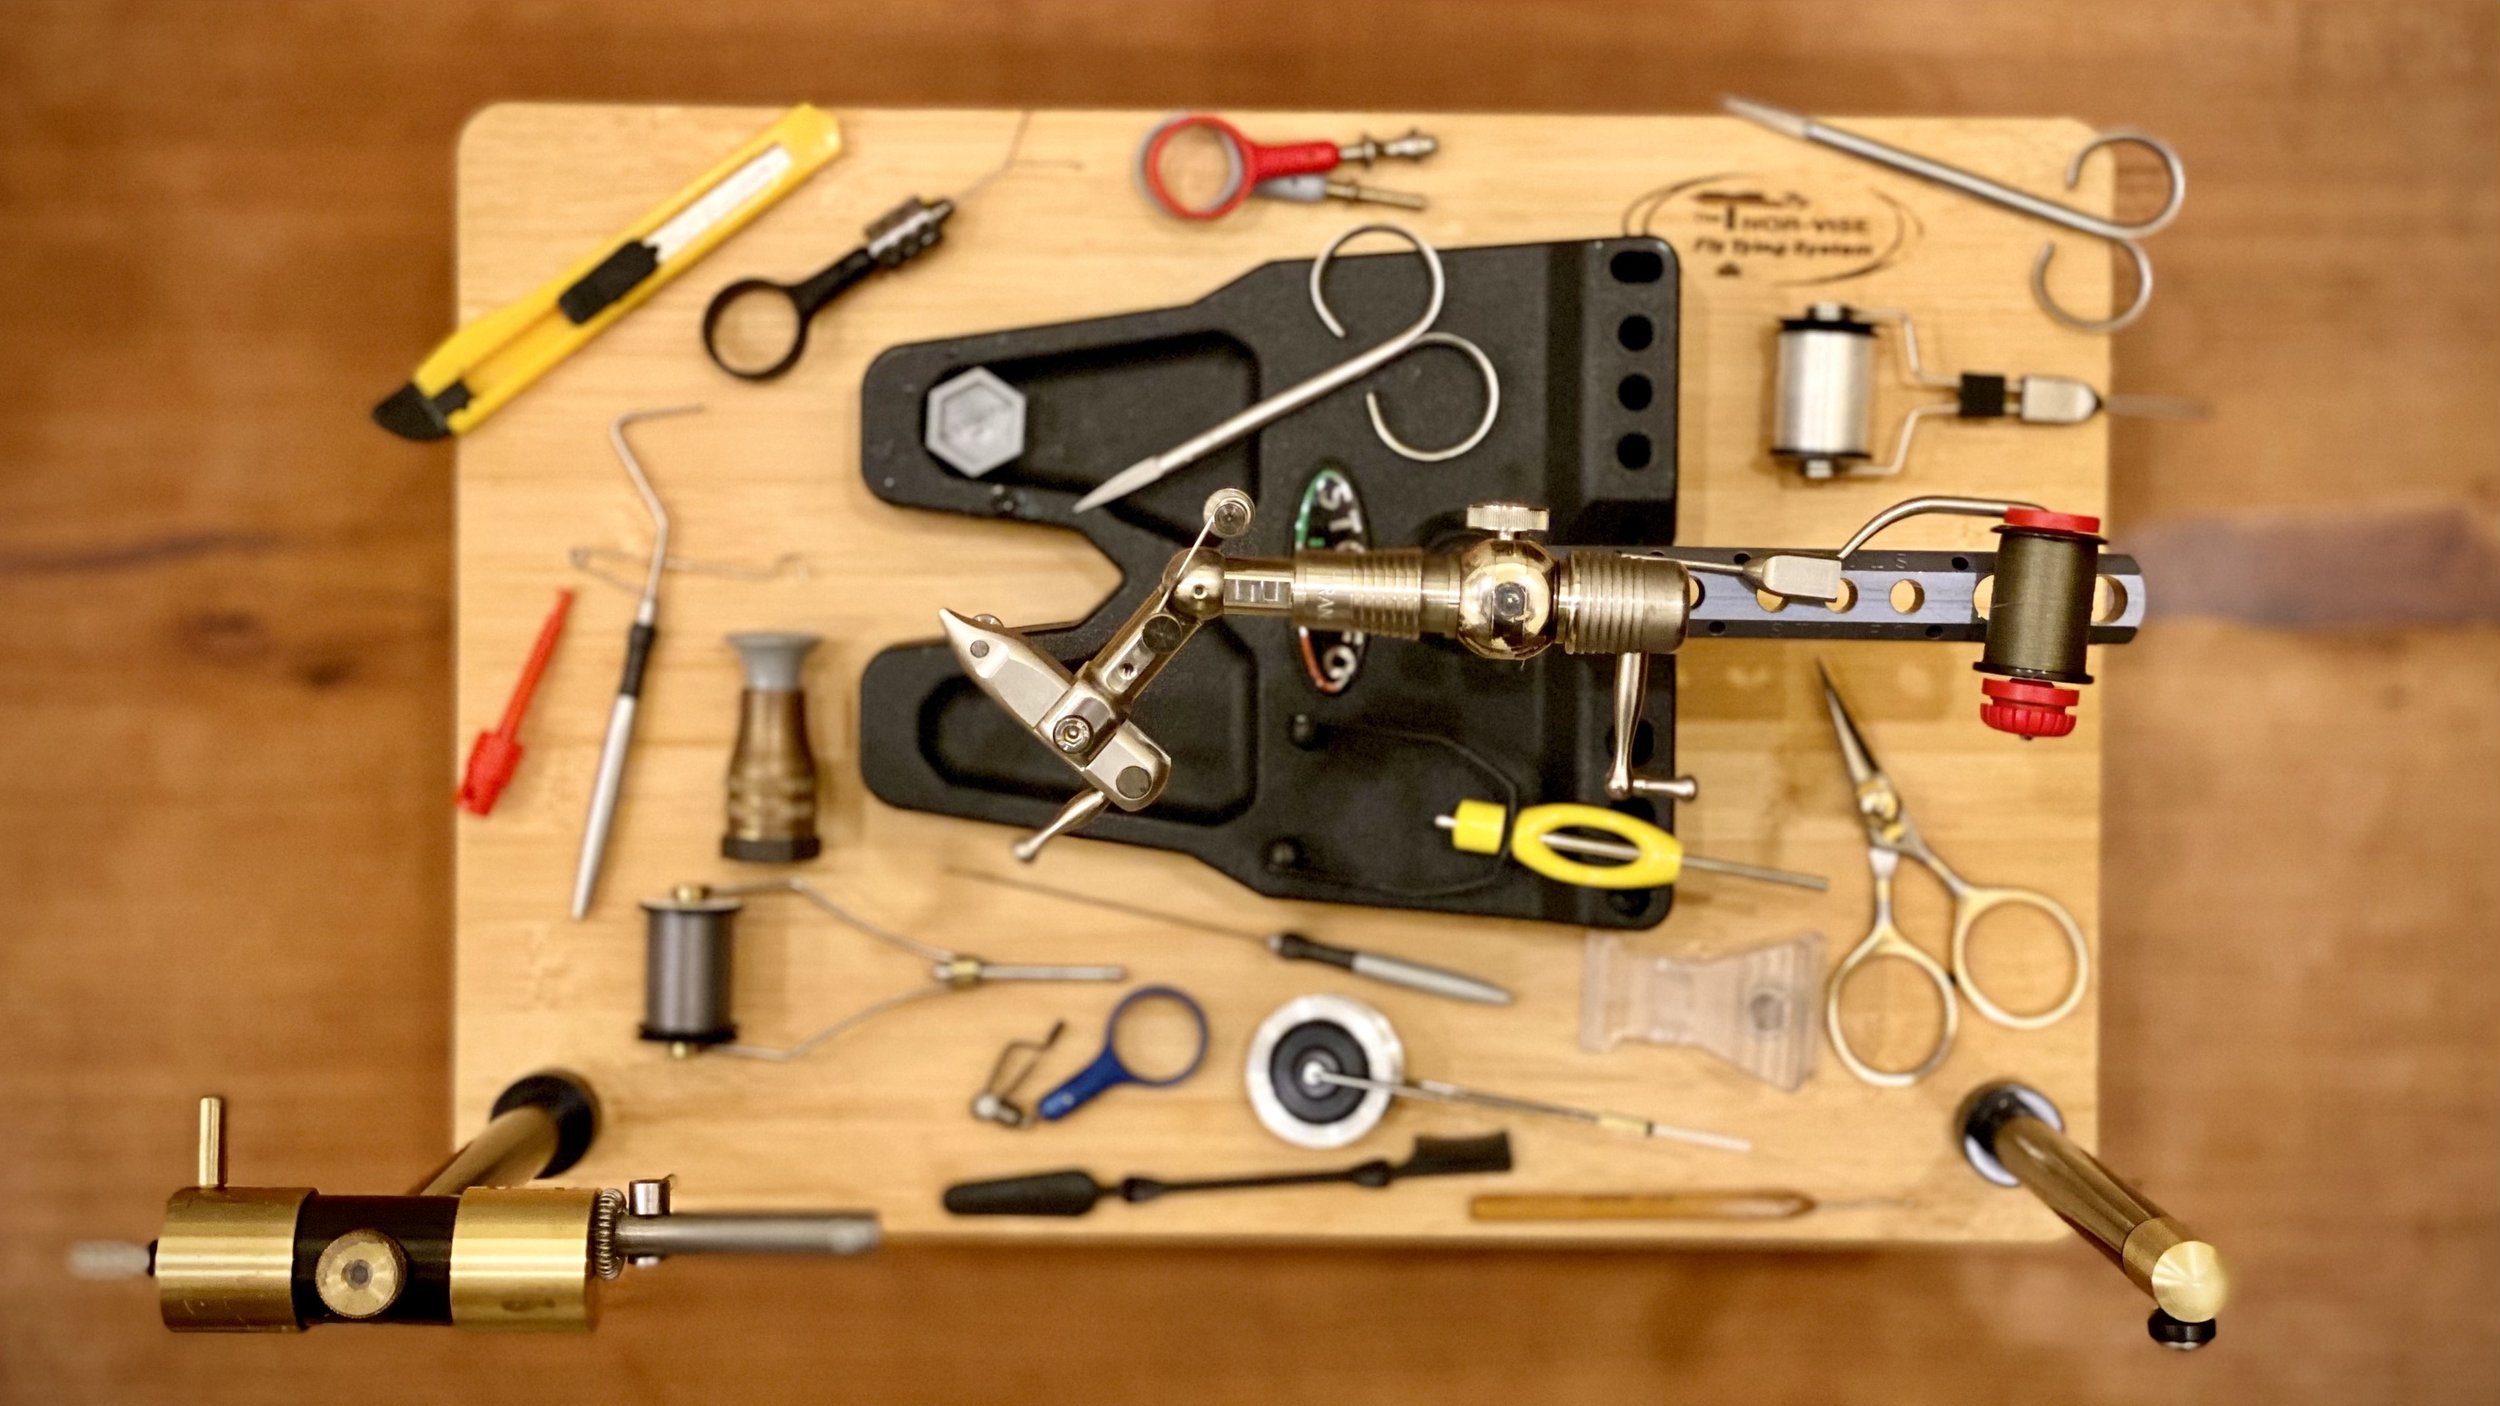
Let’s be honest, there is a STEEP learning curve in fly tying. With all of the materials, techniques, tools, and nuances, it’s a hobby that takes time to learn. But have you ever looked around your bench and wondered how you accumulated so much STUFF?!? I just did so and realized that there were 5 things I could live without.
As you read through this blog, take some time to consider your own tying bench. Are there tools that don’t see the light anymore? I’d love to hear from you, so be sure to post a comment at the end.
The Rite Bobbin is used by tiers around the world. It’s easy to adjust and is a workhouse, but is it needed? I don’t believe so, especially for those newer to tying. Unconvinced and want to try one? Purchase HERE
5. Tension Bobbin - First, a bobbin’s tension allows you to unspool thread at a set pressure, and the easiest way to adjust is to CAREFULLY pull the bobbin arms apart. Davie McPhail shows how in this video. Tension is critical so the spool does not overrun or free spool, causing your fly to quickly come apart.
Enter the tension bobbin, which allows for an easier process, with some type of mechanism allowing you to tighten or loosen. Many bobbins have the adjustment on the side, whereas others (like the Stonfo Bobtec) have the control mounted on the arms going up.
Are tension bobbins cool? Yes. Do I use one? Yes. Are they needed? Here’s my selling point for this one: I tied for over a decade without a tension bobbin and survived just fine, you will too.
4. Social Media - Wait! I LOVE social media, as I post on YouTube, Instagram, Facebook…you get the gist. And is this even a tying tool? Yes, it is, as a tool is intended to make fly tying easier, which social media does. It’s educational, allows you to connect with other tiers, plus is entertaining. However, I have also noticed one major flaw with social media: It sucks away time! You’ll find me on many social, but used sparingly.
Some of my favorite socials include:
Social Media! What comes to mind when you hear those words. As with anything, there are both positives and negatives.
YouTube: The best place for instructional fly tying videos, lengths of videos vary. This is my primary platform where I share original content and will continue to do so. So what’s the downside? Videos tend to be longer and it can take “current” fly fishing and fly tying information a bit longer to be placed here.
Instagram: Awesome for creativity and up-to-date fly tying, Instagram is a platform I use daily to learn new patterns, connect with others, and simply be BLOW AWAY by the great content shared by so many exceptional tiers.
Facebook: I used to think this was simply best for sharing family pictures, but I was wrong! Fly tying groups are excellent for connecting with others and a great way to receive feedback from other tiers.
Pinterest: So much information, it’s overwhelming! Users are able to generate boards for information, then “pin” the content to them. It’s a great way to stay organized with so many information!
TikTok: This is just fun, and a HUGE time suck! TikTok is for shorter video clips, and in them, I attempt to meld education and entertainment. Did I succeed??
Twitter: Is this a great platform for fly tying? It seems as a way to deliver information or discuss controversial topics, but what about for fly fishing and tying?
LinkedIn: More of a way to connect with other industry insiders, this is a platform I am turning to especially related to fly fishing content.
Stonfo Thread Splitter
The Stonfo Thread Splitter is a favorite, though is it really needed? I use the technique a lot and created this tutorial to help with the process:
3. Thread Splitter - There’s something cool about using a thread splitter. It’s intended to open threads so you can insert materials within. Once closed, the thread is spun, causing the material to look like someone with a bad hair day. Now do i love splitting thread to tie lots of different flies, especially with CDC? YES, it’s a really useful technique, but you don’t need a thread splitter to do so. Instead, I'm guessing all of you have a fly tying tool called a bodkin that works just fine and will achieve the same process. Here’s a quick video by friend Tim Flagler showing you how: Split Thread video
2. A $500 (or more!) vise - You don't need it! Listen, my first vise was free and it didn’t even rotate, but I did just fine with tying on it. Did I want to upgrade? Absolutely, and we are all very fortunate because once you that that $100 - $200 range, there are so may great vise options today.
If you're thinking about getting a new vise, I would recommend watching a video I put together about selecting a fly tying vise. The video breaks down the most common types and goes over some similarities and differences, making the process a little easier for you. Watch the video: HERE
I get it, you had an introductory vise when you started tying and now you’re ready to make that jump to a better one. Been there. What defines “better” for you? In my opinion, a vise is intended to hold the hook and make tying easier, so start down that path. Look for features such as rotary, sections that can be adjusted based on your preferences, and those with jaws intended to be used for flies like you tie.
What do you get out of the higher-priced vises? Typically a better finish, more options, and even the ability to customize the vise. And yes, some of the more expensive ones can look pretty, too! However, I bet you’d be surprised to learn that many fly tying companies use the same jaws in their intermediate vise as they do in their advanced vises. Be sure to do your homework when in the market and look for a vise that matches with the flies you tie. What if it costs more than $500? I won’t be mad at you because like I said, I’ve been there!
1. Whip Finisher - This is an easy one for me, and may sound a little odd, especially if you haven’t watched a lot of my fly tying videos. At the conclusion of every fly, I finish with a hand whip finish, not with a tool! This is funny for one main reason: If you do a search of my YouTube channel, my number one video is “Finishing Techniques for Fly Tying.” In that video, I show you how to use all kinds of different whip finishing tools…yet I rarely use one myself. But now it’s time for you stop using one!
There are many ways to finish flies, and I highlight some of the main ones here. Though the picture shows a whip finisher, is one really needed? In my opinion, no. Instead, I teach others to hand whip finish, which is illustrated in this video. Watch HERE
So why should you get rid of the whip finisher? Picking one up during the tying process is an extra step, taking time away from tying more flies! Also, teaching beginning fly tiers how to use one almost makes the learning curve for fly tying even steeper, something unneeded at the start of a new hobby. Take that a step farther, as there are different types of whip finishers, some more complicated to learn than others.
Can you argue that it makes tying easier? Sure, and I can’t wait to read some below in the comments. Yet when I’m tying at shows, one frequent comment I hear from those watching me tie is, “I should learn how to hand whip finish.” NOW is the time to learn that skill, one you’ll use for many years to come. Will you return to a whip finish tool? Maybe, or maybe you’ll just start using super glue or UV resin instead. Ha! At the end of the day, let’s make sure the head of your fly is secure, and we can argue how to do so for fun. But for me, it’s “Bye bye, whip finisher!”
Yes, there are a FEW things you need for fly tying, aside from the basics. Here is my list of some important ones I use a lot, and I can’t wait to hear what made your top 5 list!
What about 5 things that you DO need in fly tying? I made a video of those to balance out this list! Yes, I know what some of you are gonna say, you're gonna say, “Tim, you told us about the five things we don't need and you do all of them!” Yes, I basically do have all of the things that I said you don’t need. Notice I used the word “need.” It kind of reminds me of something my dad used to always tell me: Do as I say not as I do. However, I promised myself I would never say that and I won't!
So don't feel trapped in fly tying and believe that you have to get everything, you don’t! Are there some things that will make easier, more fun, even more enjoyable? Absolutely! Invest in those things by all means because this is all about having fun, which is what I love the most about fly tying. If you ever do need some recommendations, please don’t hesitate to email me: tcammisa@gmail.com
Feel free to comment with some thoughts below, especially things in fly tying you DON’T need. If you would prefer to watch the video of these 5, here you go!


